Canvas
Canvas and Inspector are the two main areas when it comes to UI building.
Working with canvas
To build your application's UI, drag the mouse over the component library to open the drawer. Click on a component and drag it over the canvas. The canvas will highlight the location where a component can be dropped. Release the mouse to place the component on the canvas.
Selecting components
Click any component in the canvas to select it. An overlay indicates the selected components.
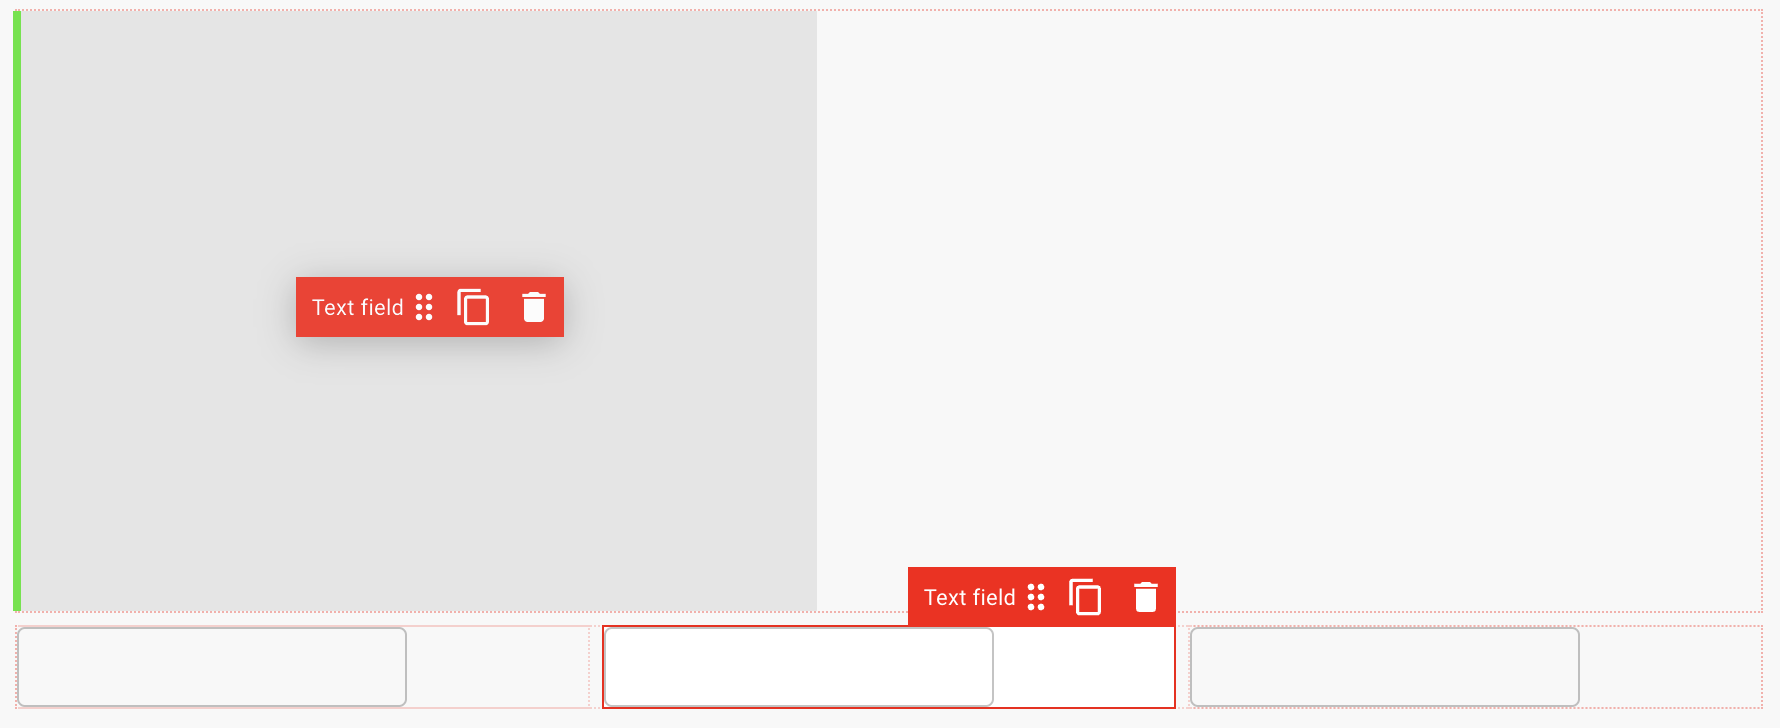
Moving components around
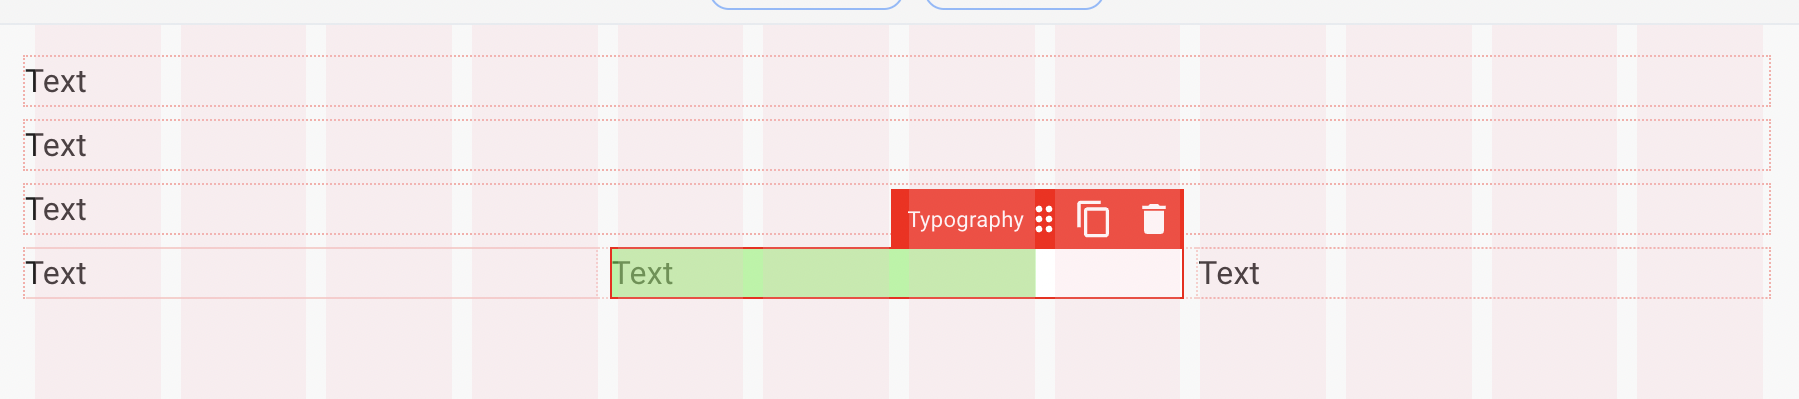
In order to change position of a component select it first then click on the overlay handle, drag and drop it in the new location. The canvas will highlight available drop location with green indicator.
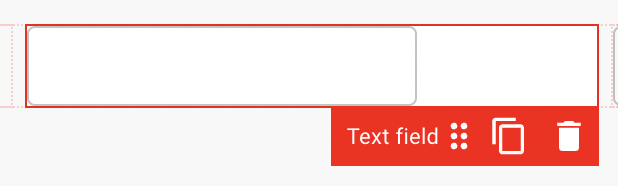
Removing components
Select the component you want to remove. Click the bin icon in the overlay to remove it from the canvas. You can also press the Backspace key to achieve the same result.
Inspector
In the inspector panel you can see the values of the selected component's properties. Each component has a specific set of properties that you can tweak in the inspector panel.
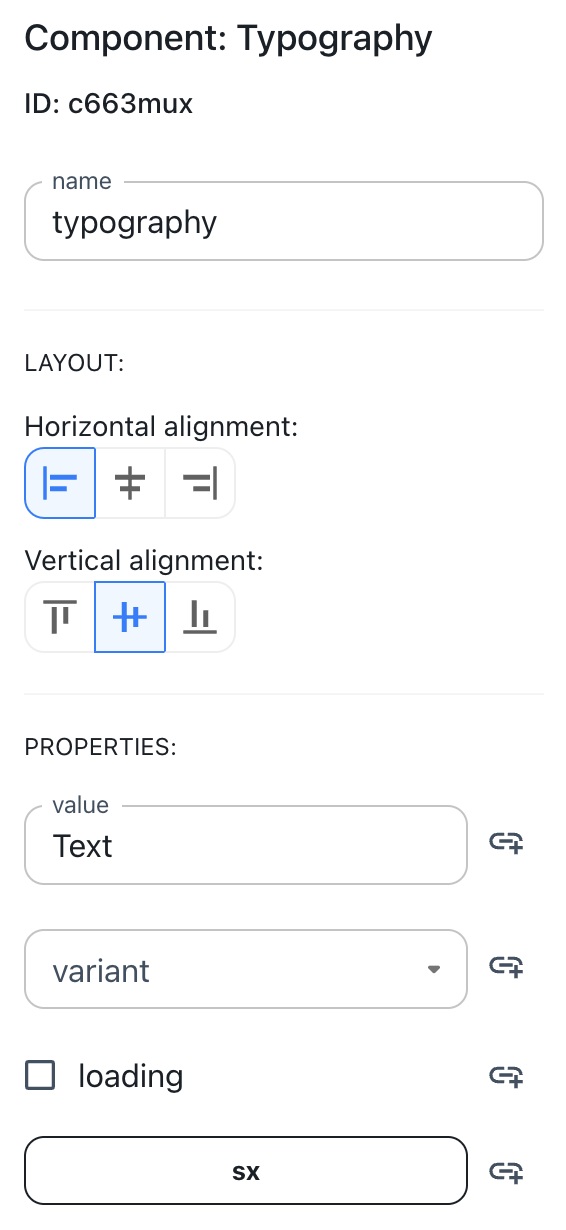
You can either use a static or dynamic values as described in data binding section
Canvas grid
Rows
Toolpad canvas uses a grid layout where you can use rows to position components:

Columns
Or place them in a dedicated column besides other components:

Resizing components
Components placed in columns can be horizontally resized within the grid boundaries:
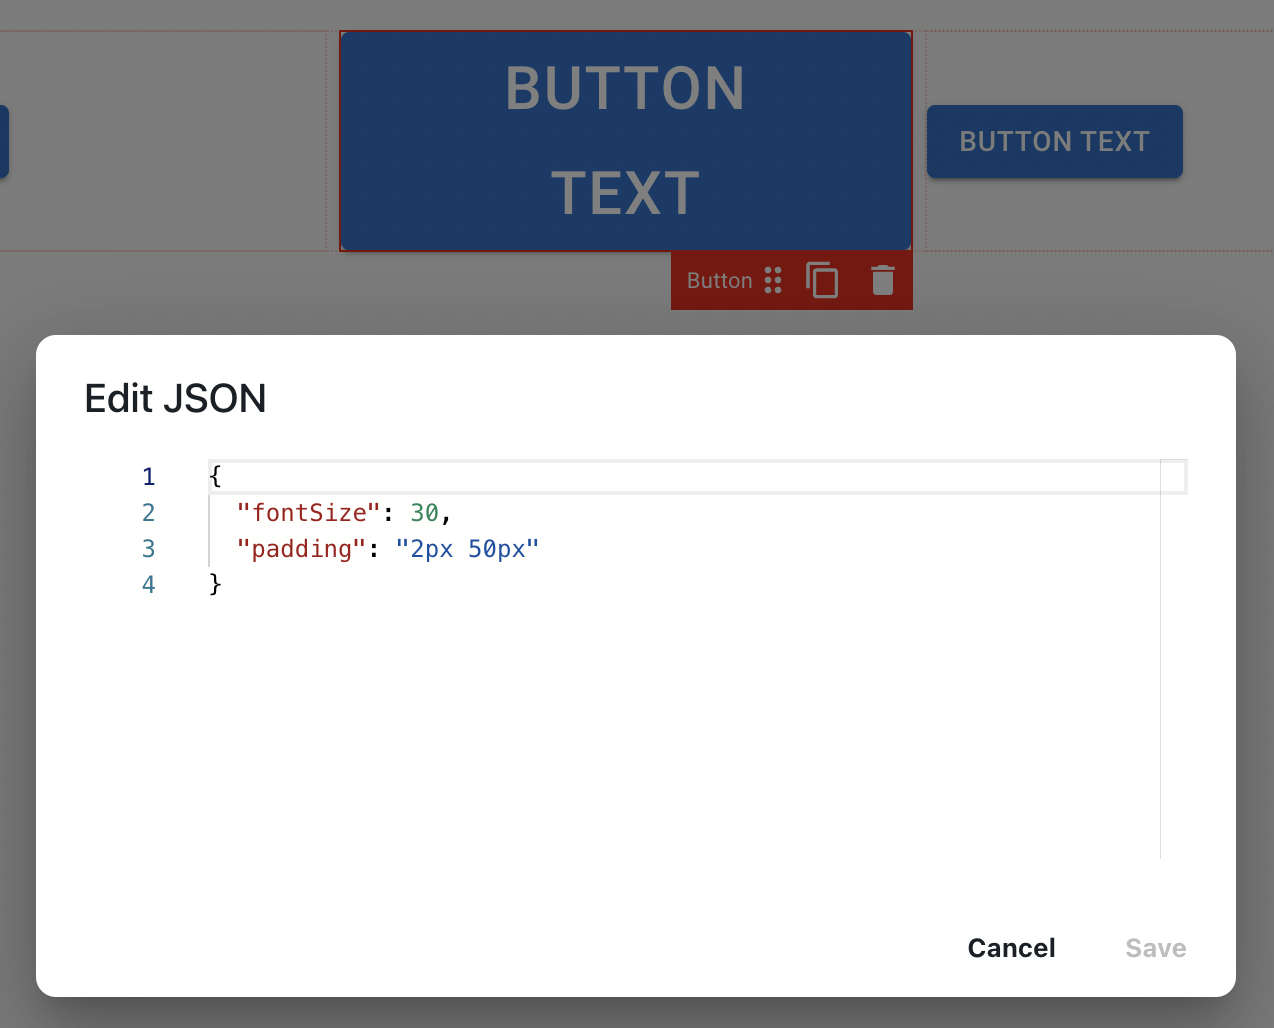
Custom styling
In order to provide a personalised styling to the components used in the application you can use style overrides via sx prop.
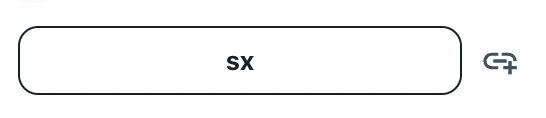
Click on sx button in the Inspector to bring up JSON editor and define style overrides: