Quickstart
Learn the fundamentals of building with Toolpad by creating and deploying a simple application.
This guide will walk you through the process of creating a basic Toolpad application. You'll use the MUI X DataGrid component to display a list of dog breeds from the Dog API. When you click on the name of a breed, its photo will be displayed using the Material UI Image component.
Purpose
This Quickstart guide is intended to introduce you to the fundamentals of building with Toolpad. By the end, you should be able to:
- set up a new Toolpad app
- navigate through your workspace
- add components, data sources, and queries to an app
- bind data sources and components
- deploy a Toolpad app
Prerequisites
This guide assumes that you have Docker installed on your machine.
Make sure you have a running Toolpad instance.
Download the docker compose file
curl -LO https://raw.githubusercontent.com/mui/mui-toolpad/master/docker/compose/docker-compose.ymlStart the docker compose services
docker-compose -f docker-compose.yml up -d
Toolpad will be accessible under http://localhost:3000/.
Building your first application
Create a new app
Open Toolpad by navigating to http://localhost:3000/. It should look like this:

Click CREATE NEW and name your application. Confirm by clicking CREATE. You'll then be taken to the workspace for your new app, which looks like this:
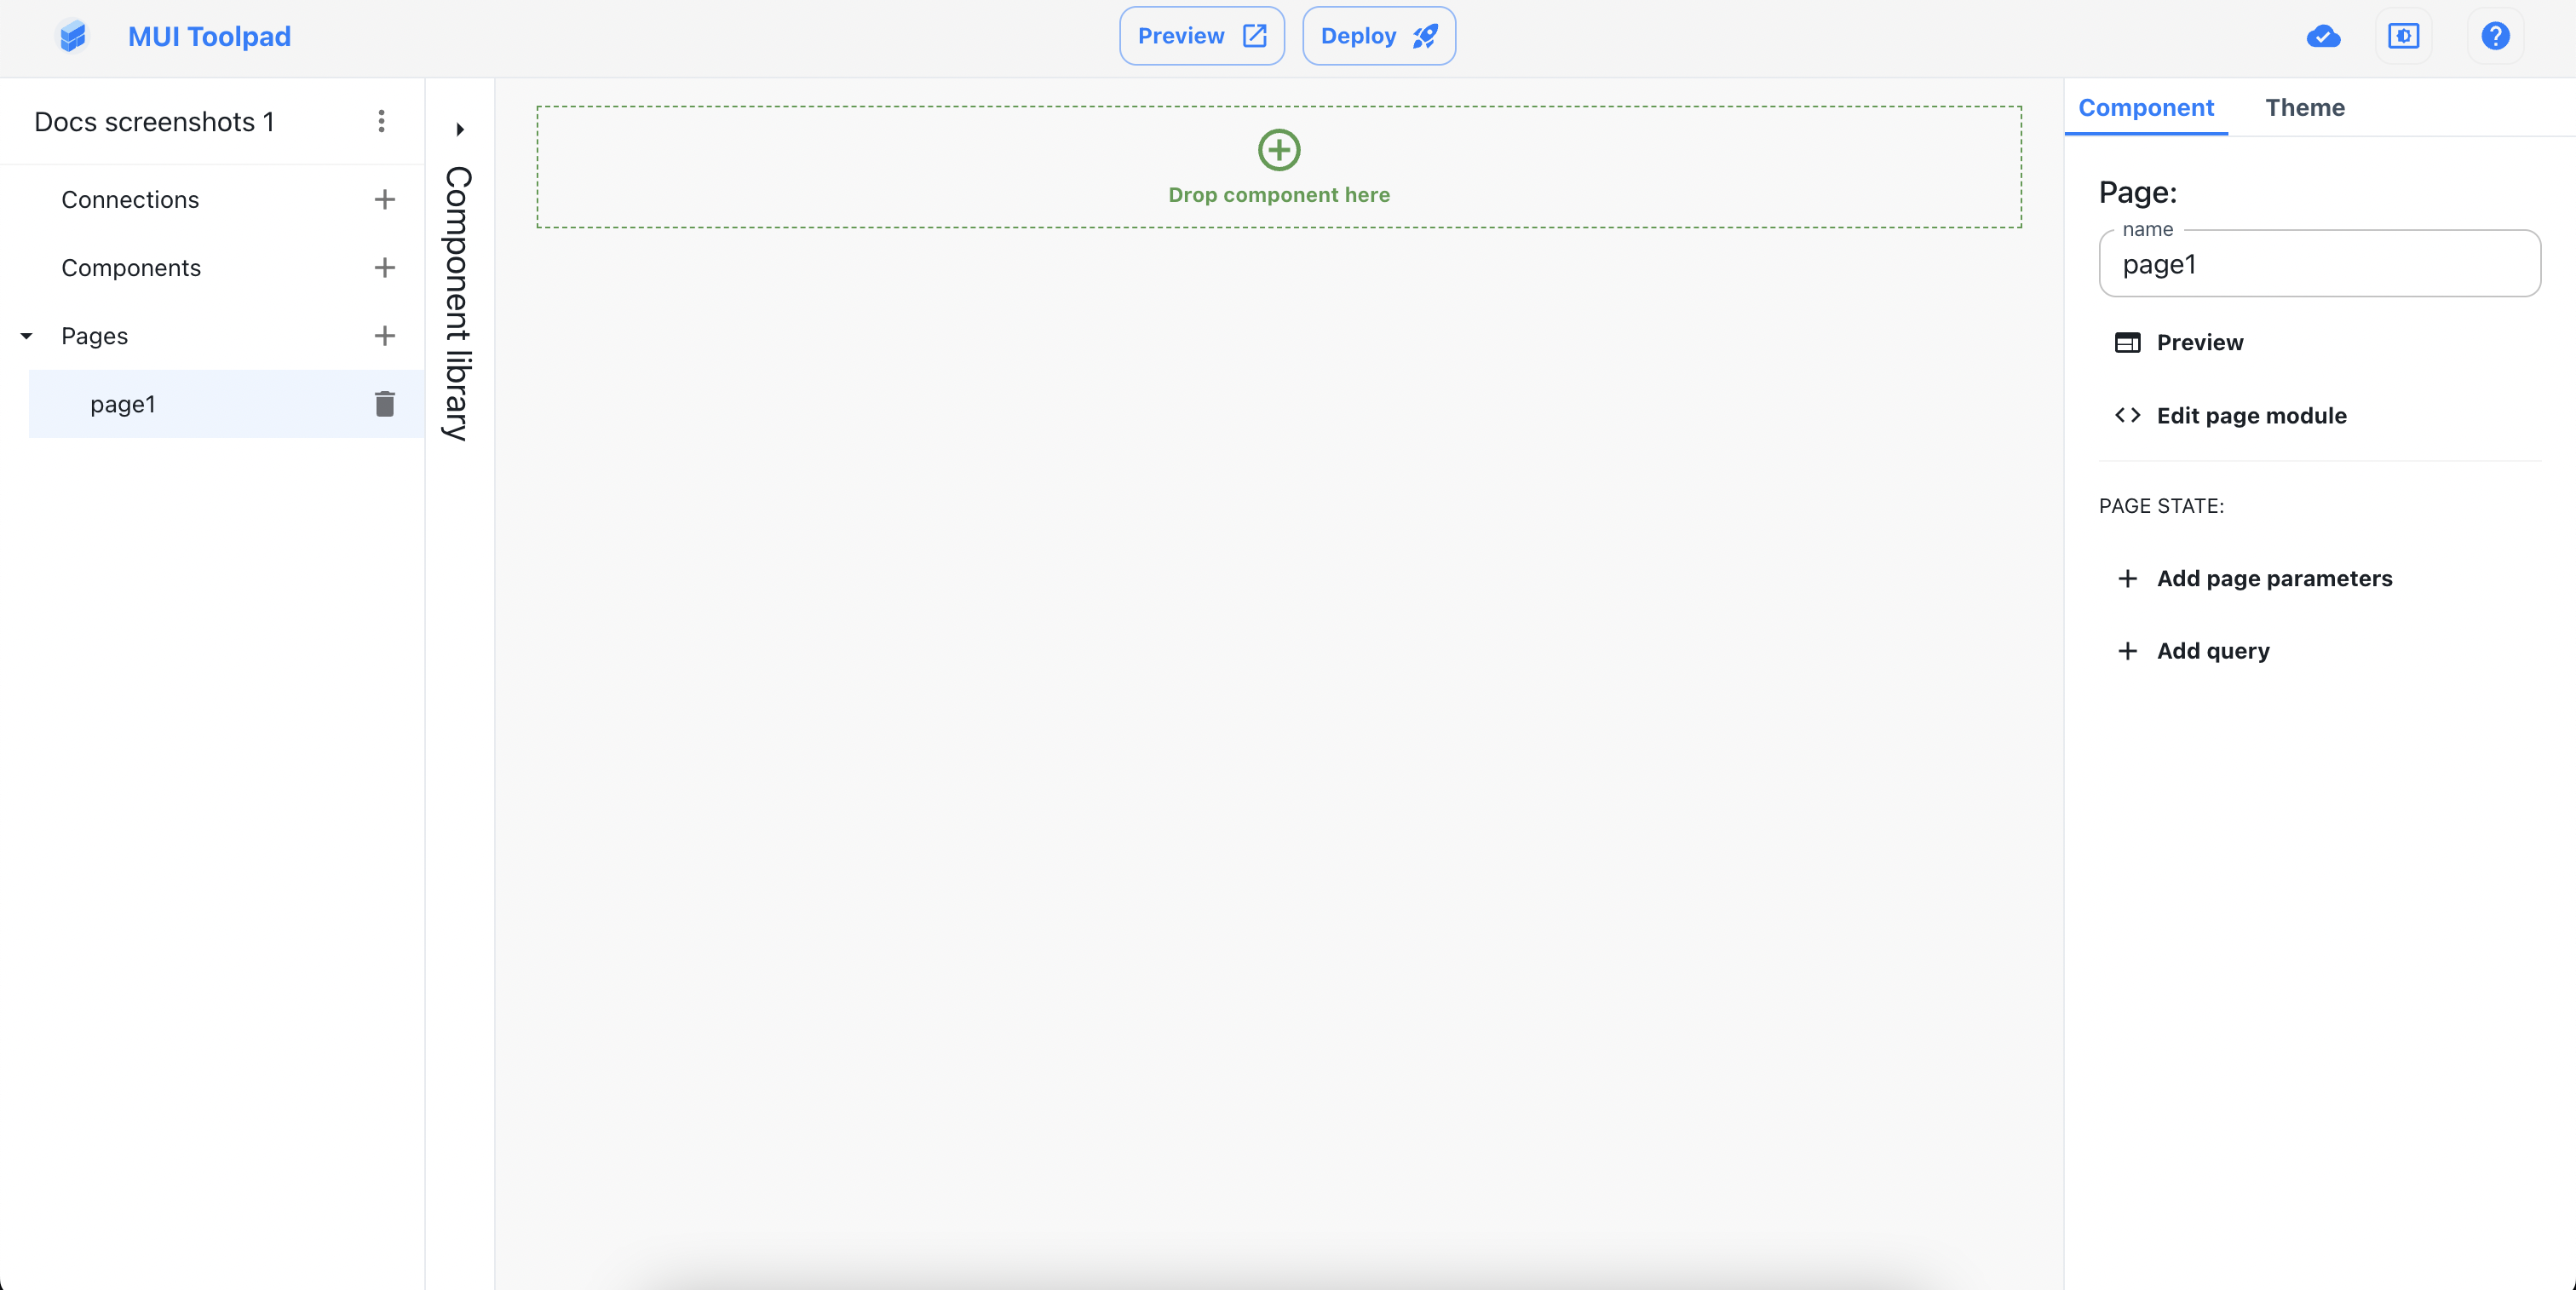
Assemble the UI
Hover over Component library and drag DataGrid and Image components into Canvas
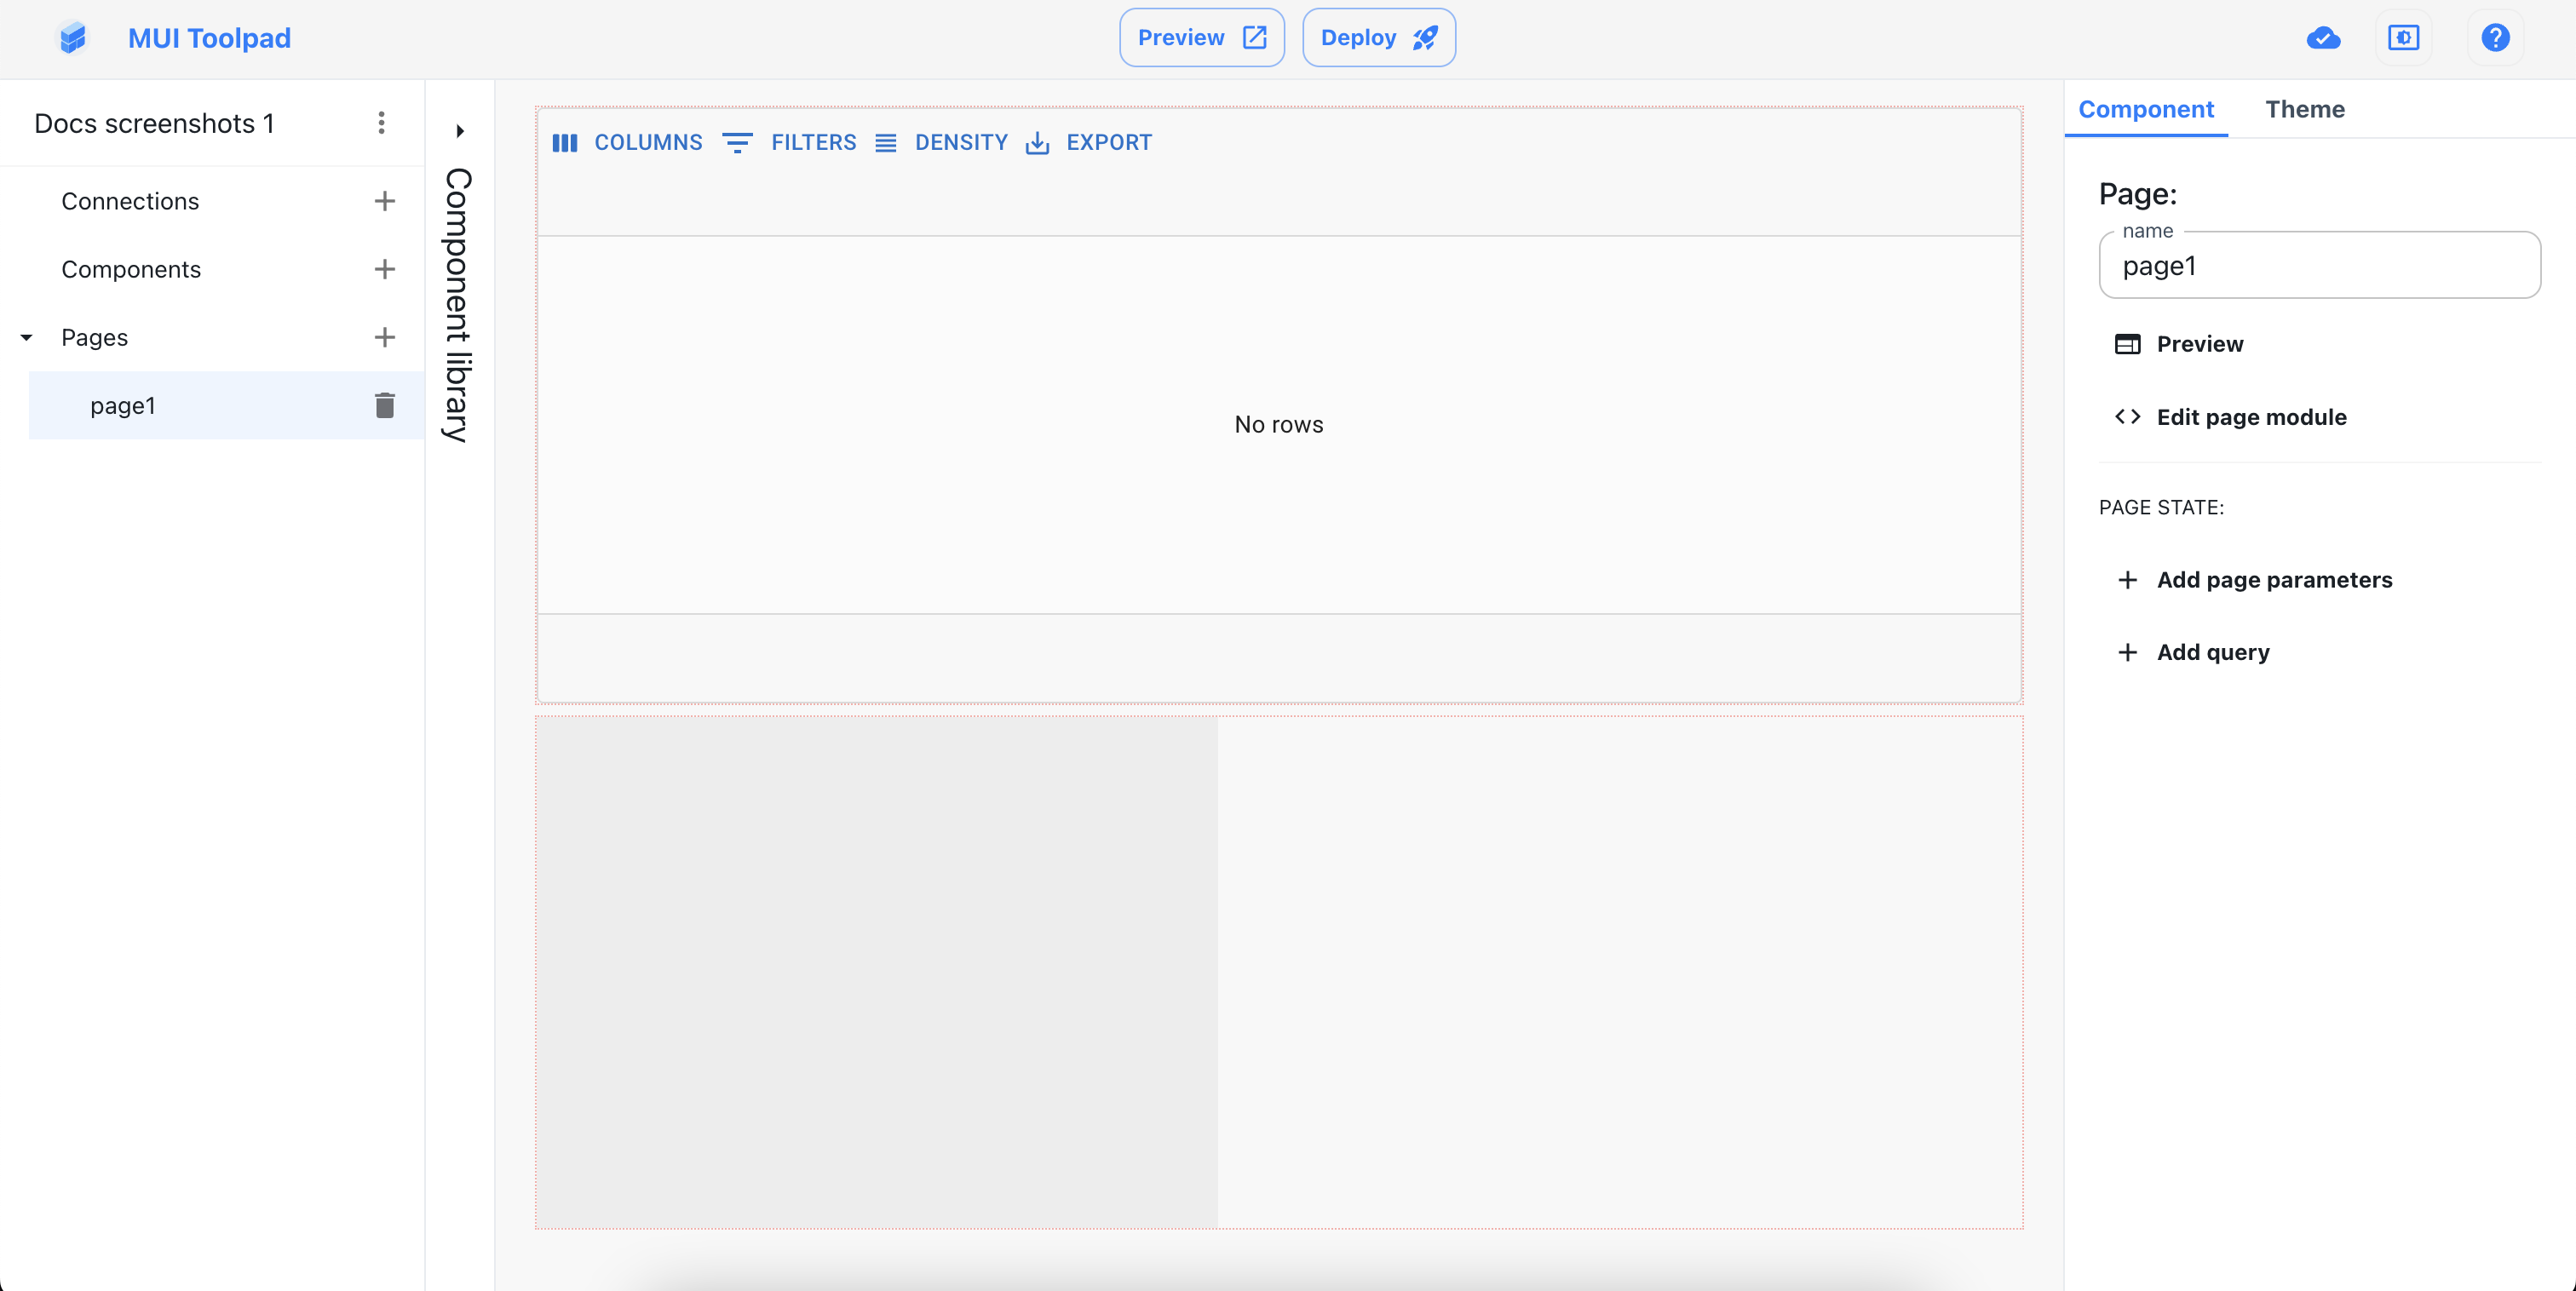
Congratulations, you are done building the UI! Now all you need to do is connect it with a data source.
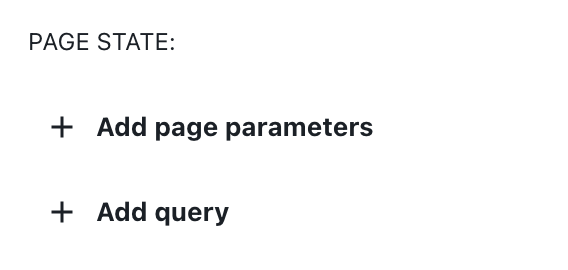
Click anywhere inside Canvas (except on the components that you just added) to deselect added components
Locate ADD QUERY button inside Inspector and press that to start configuring our data source
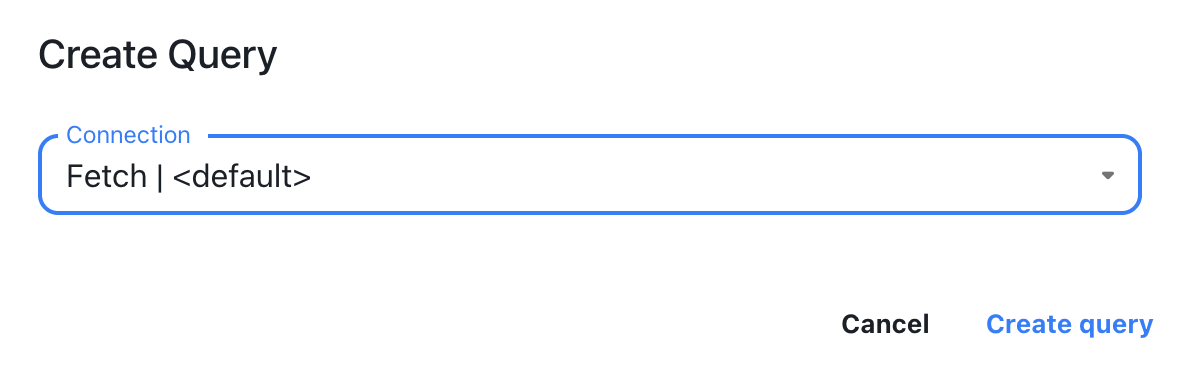
This time you are going to use simple fetch datasource to query your data. Choose and press CREATE QUERY
Fetch some data about dogs from
https://dog.ceo/dog-api:Use
https://dog.ceo/api/breeds/list/allas a GET query URLGive a unique name to this query i.e. dogQuery
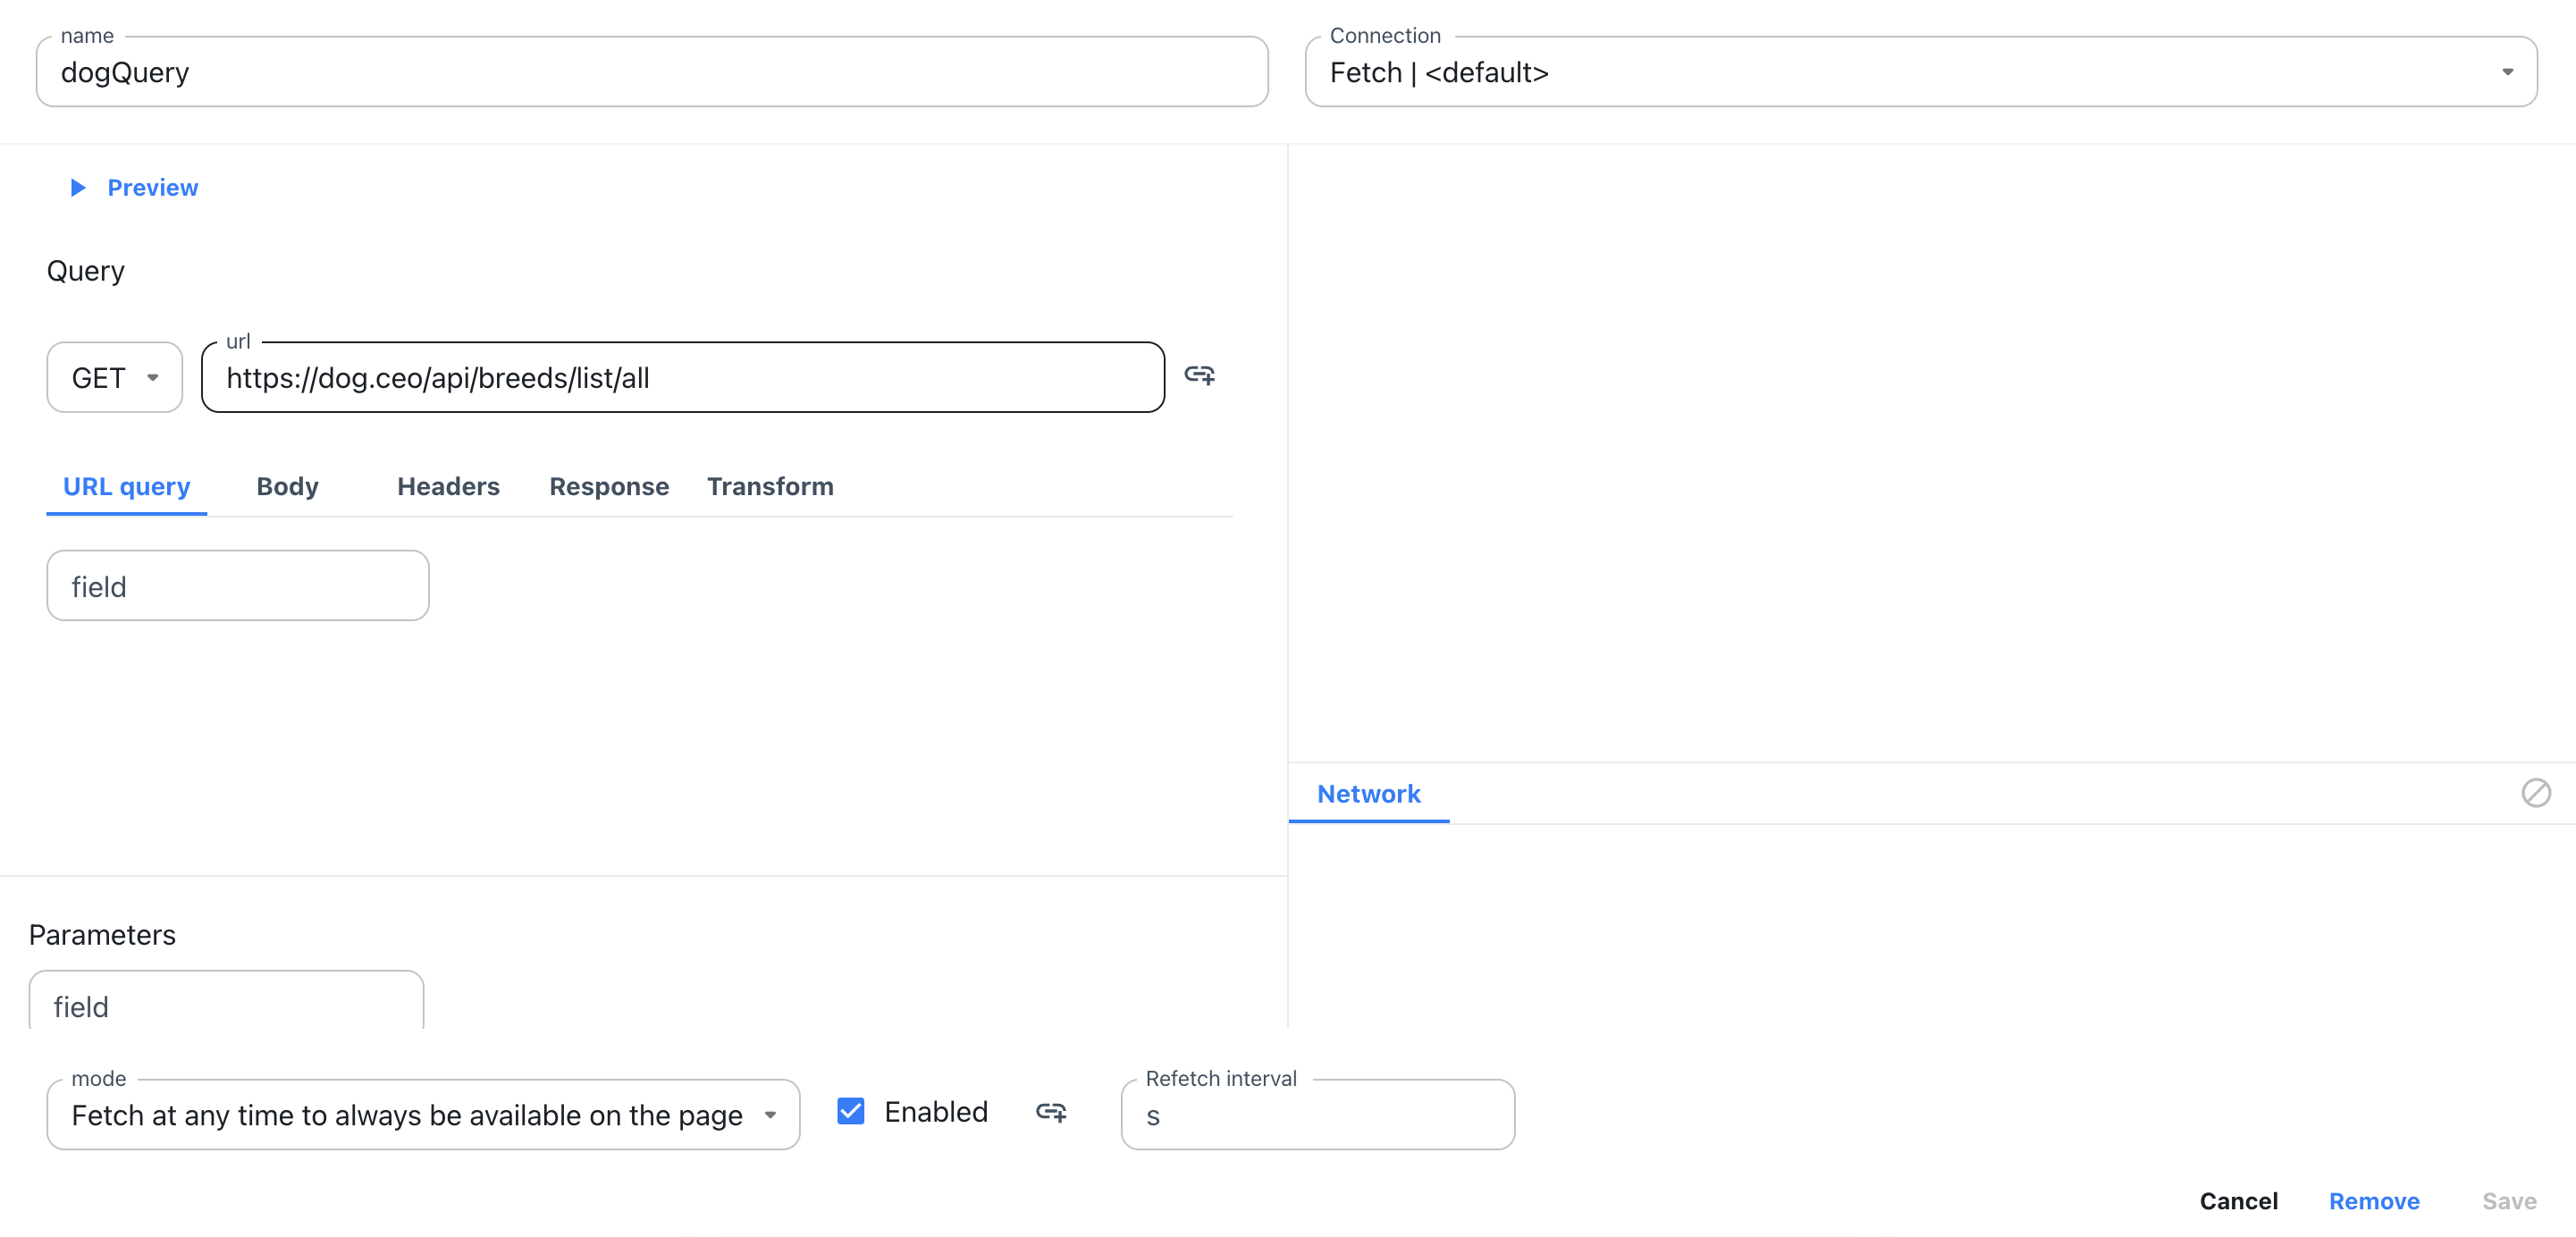
Now because data comes in different shapes and forms you can provide a quick and convenient way to transform response data - enable option and use
return data.messageexpression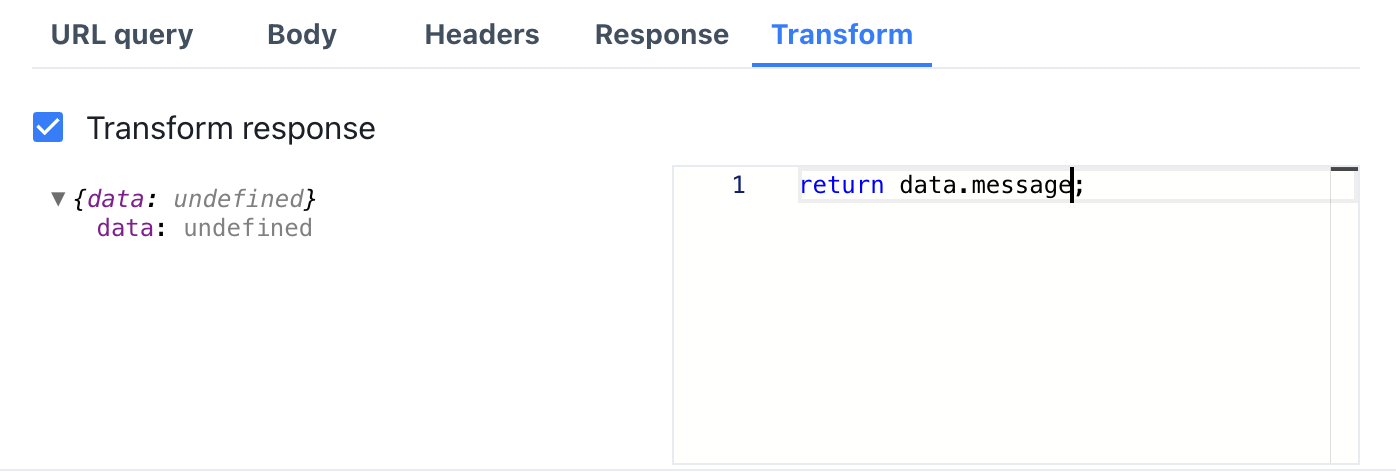
In the response preview pane on the right you can see transformed data will be assigned to
dogQuerySAVE your changes and you will return to Canvas
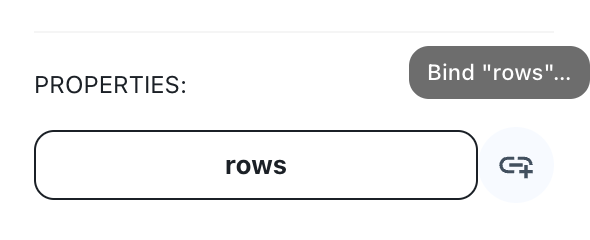
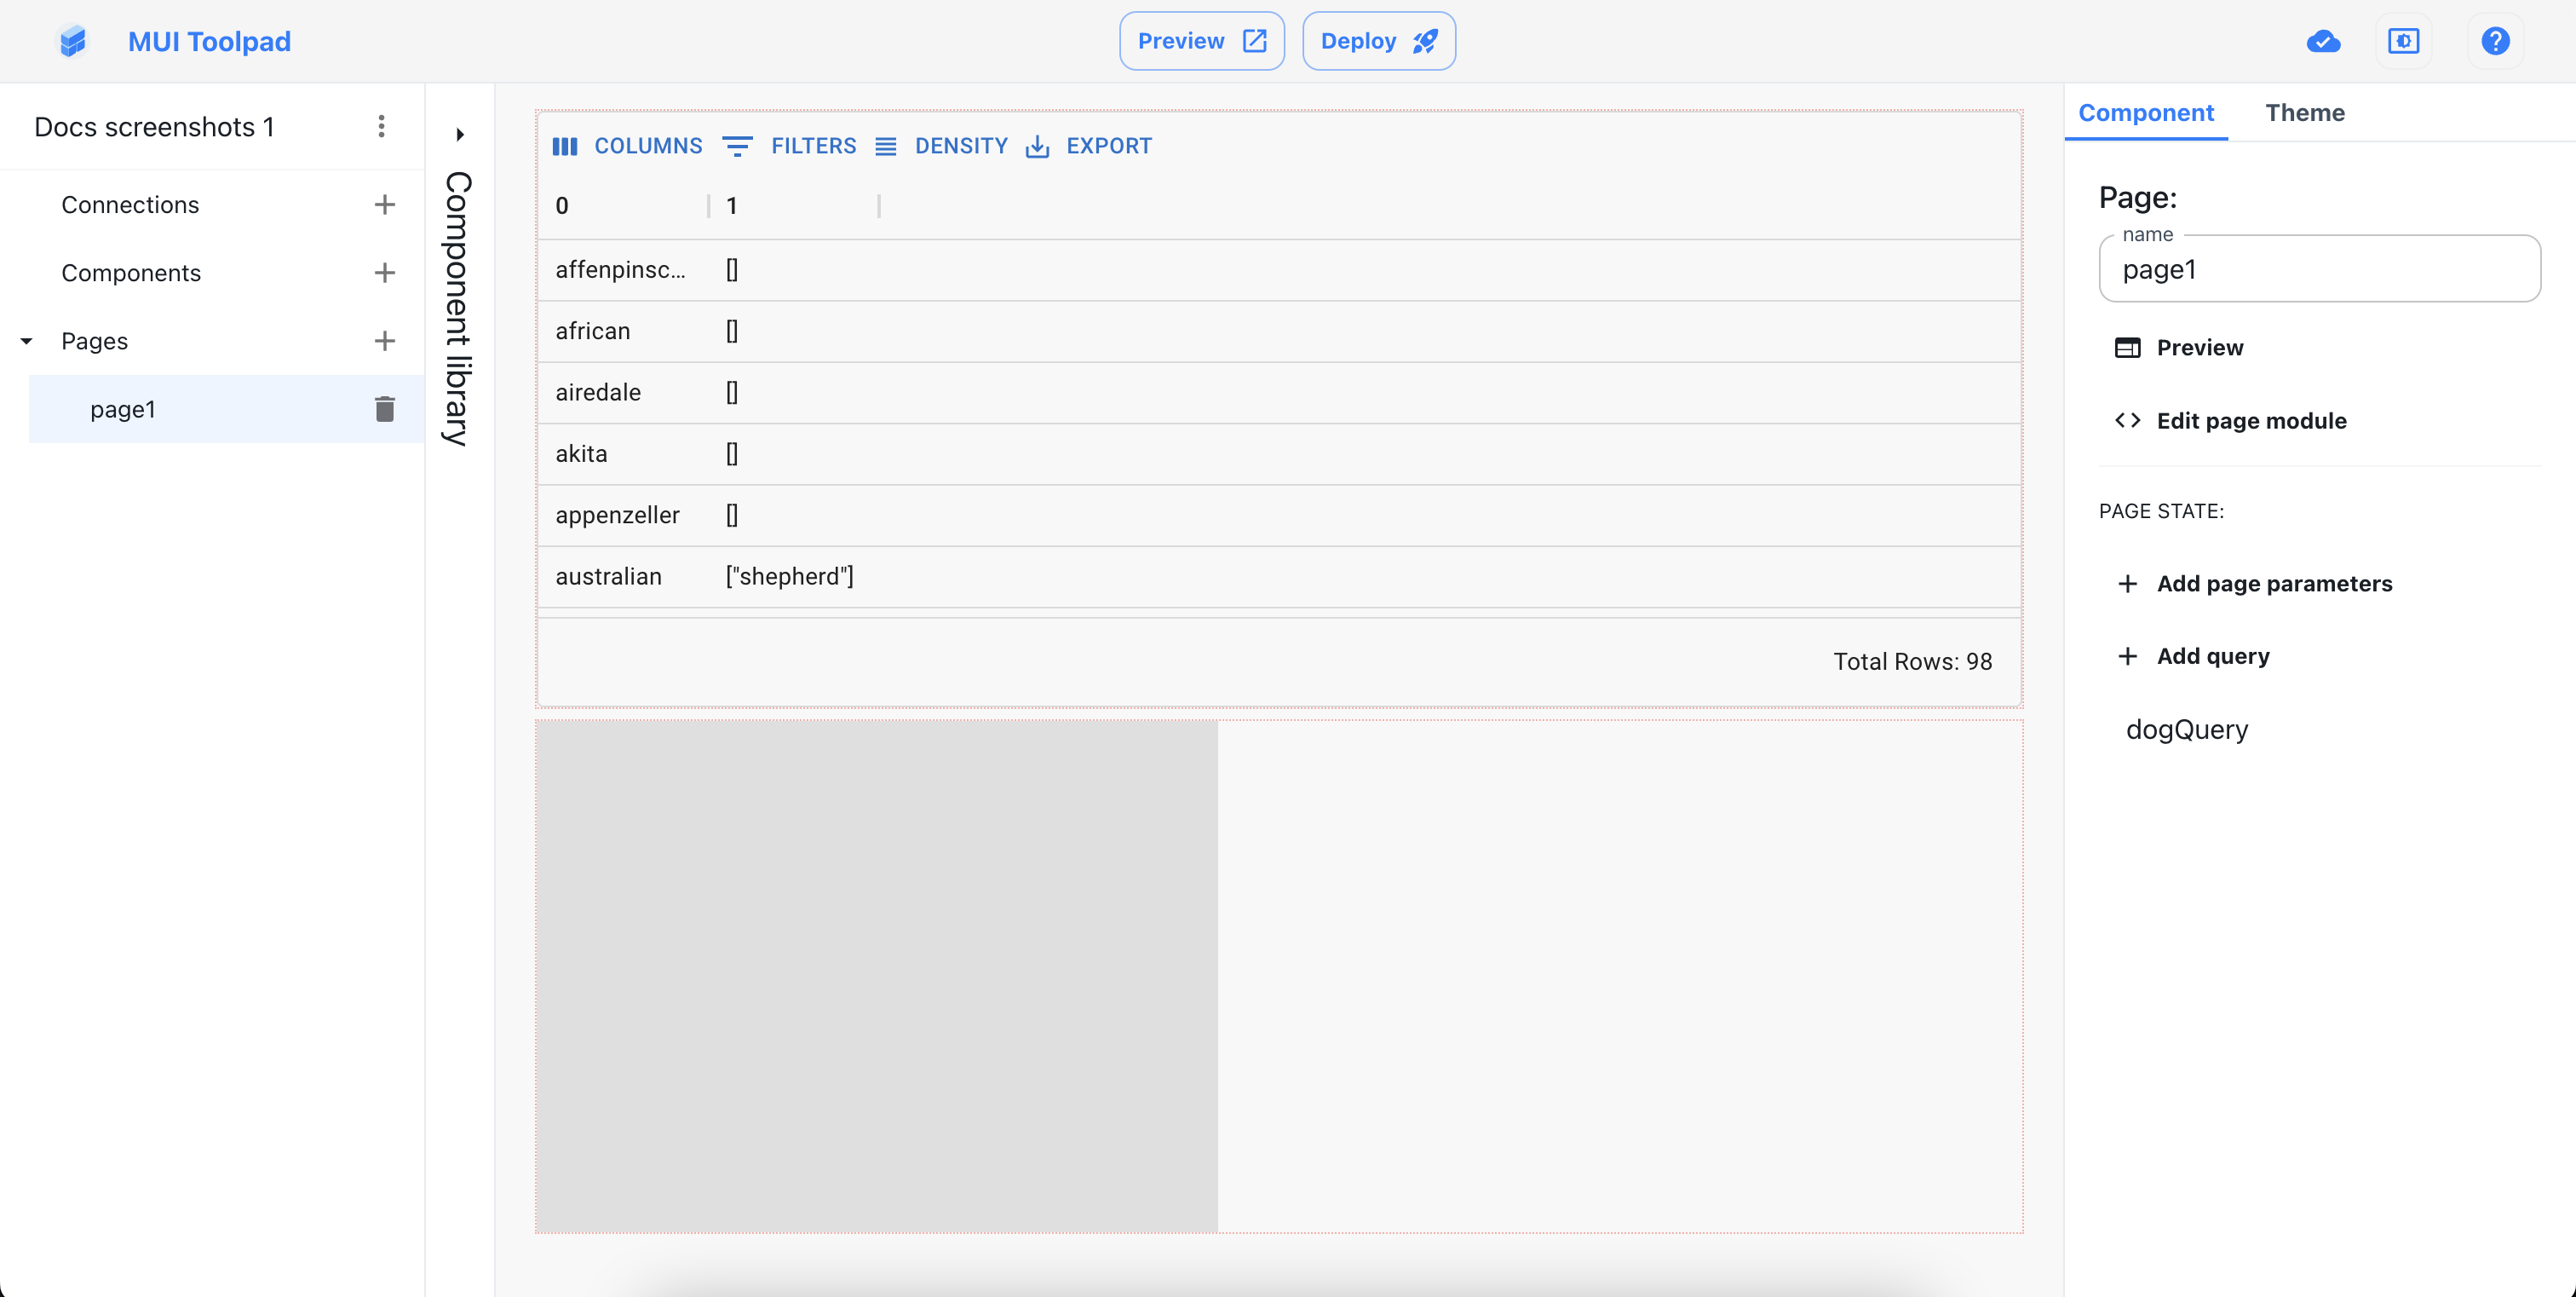
Select DataGrid component by clicking on it
Then locate rows binding button in the Inspector and click to configure data binding
Use a
dogQueryvariable available in the scope as a binding expression. Because rows property expects array type value, you first need to convertdogQuery.data(which is object) to array:Object.entries(dogQuery.data);and click UPDATE BINDING
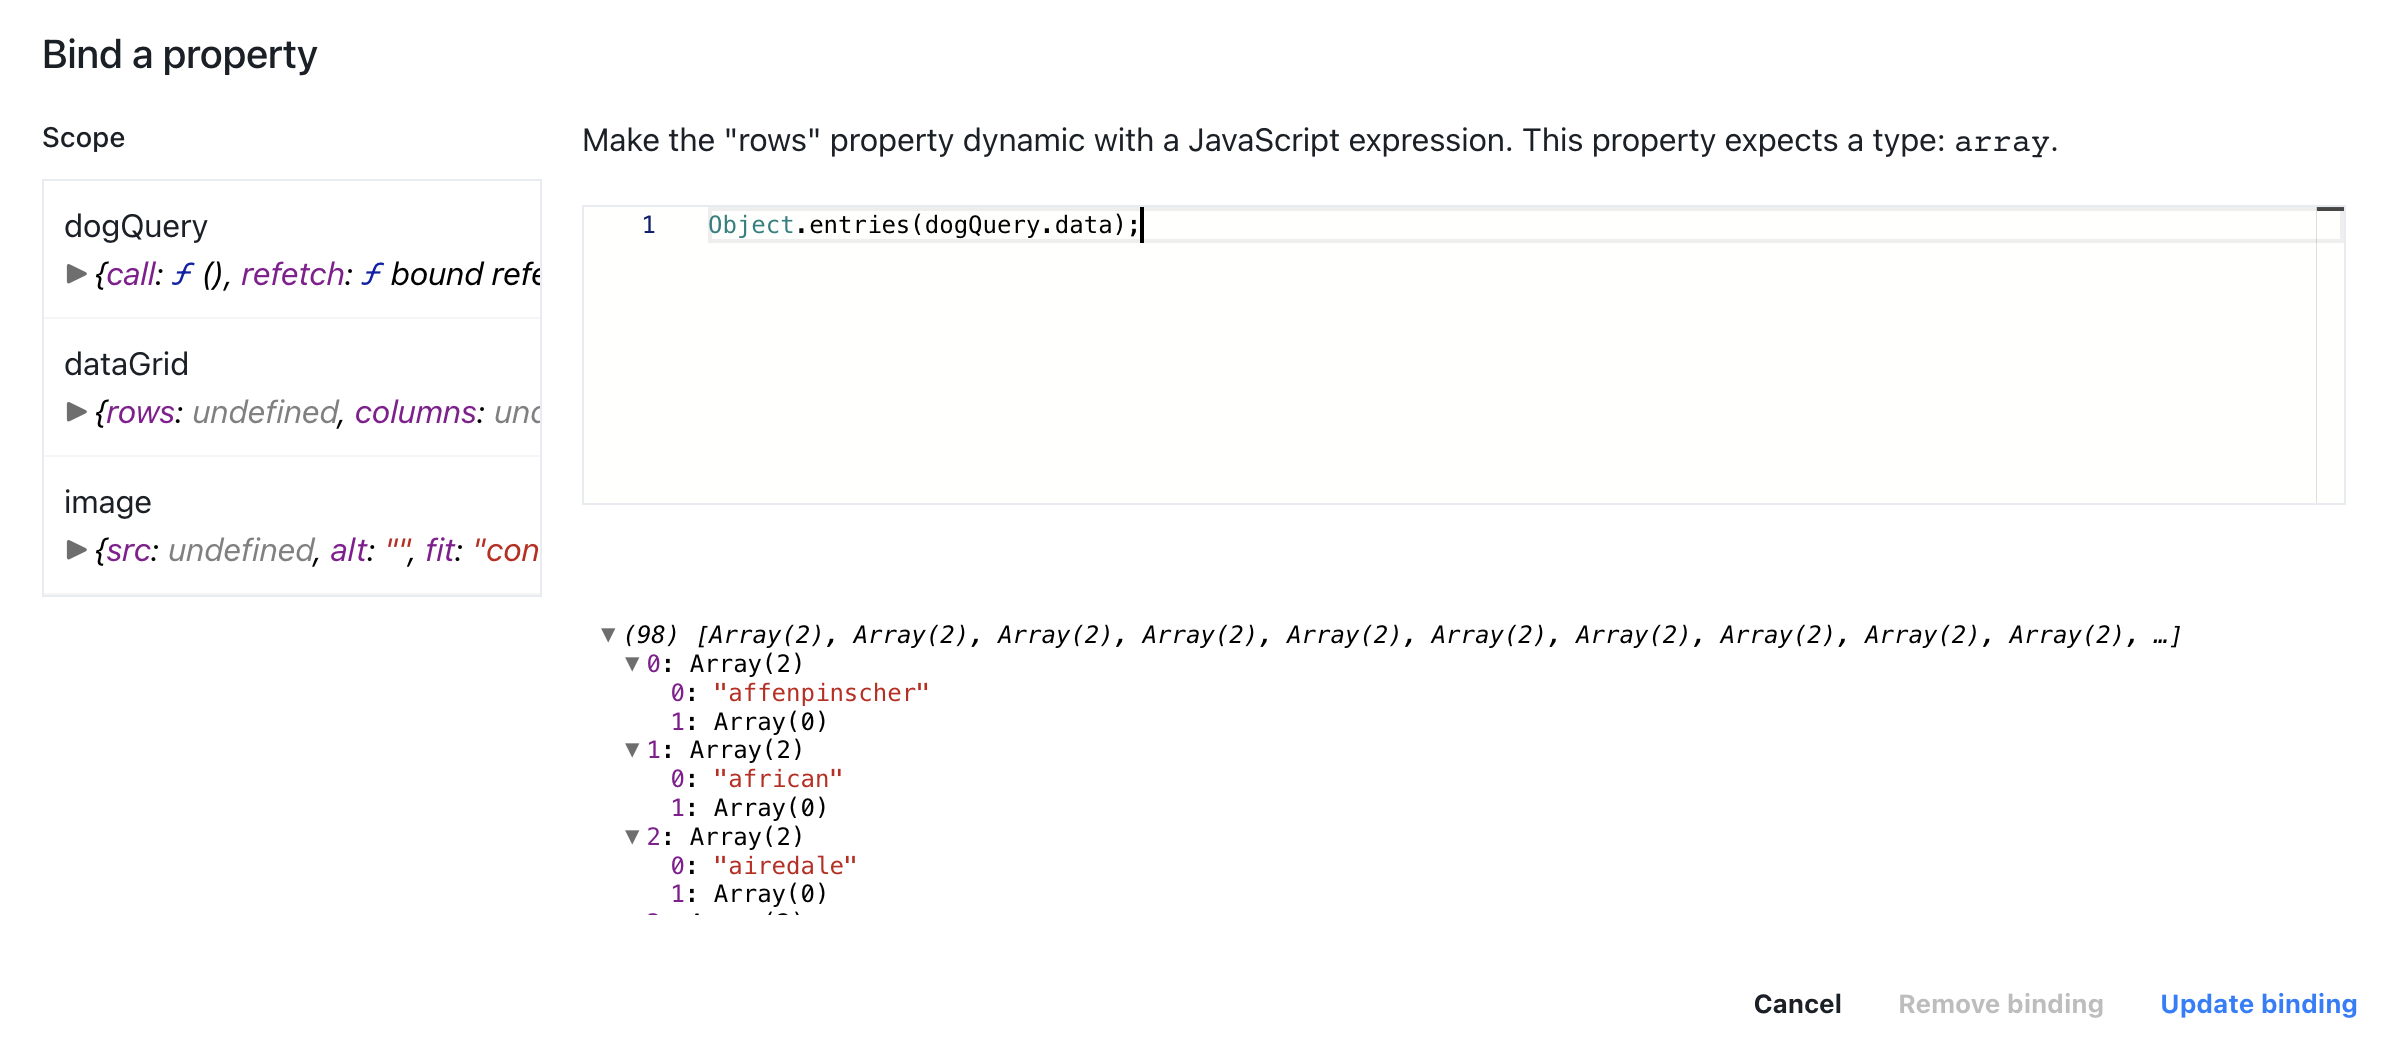
You have finally connected data source to your UI component!
You can make your app a bit more interactive by displaying an image of a selected breed. Create a dynamic query which reacts to the selection inside DataGrid component
- ADD QUERY -> create fetch type
- name -> imageQuery
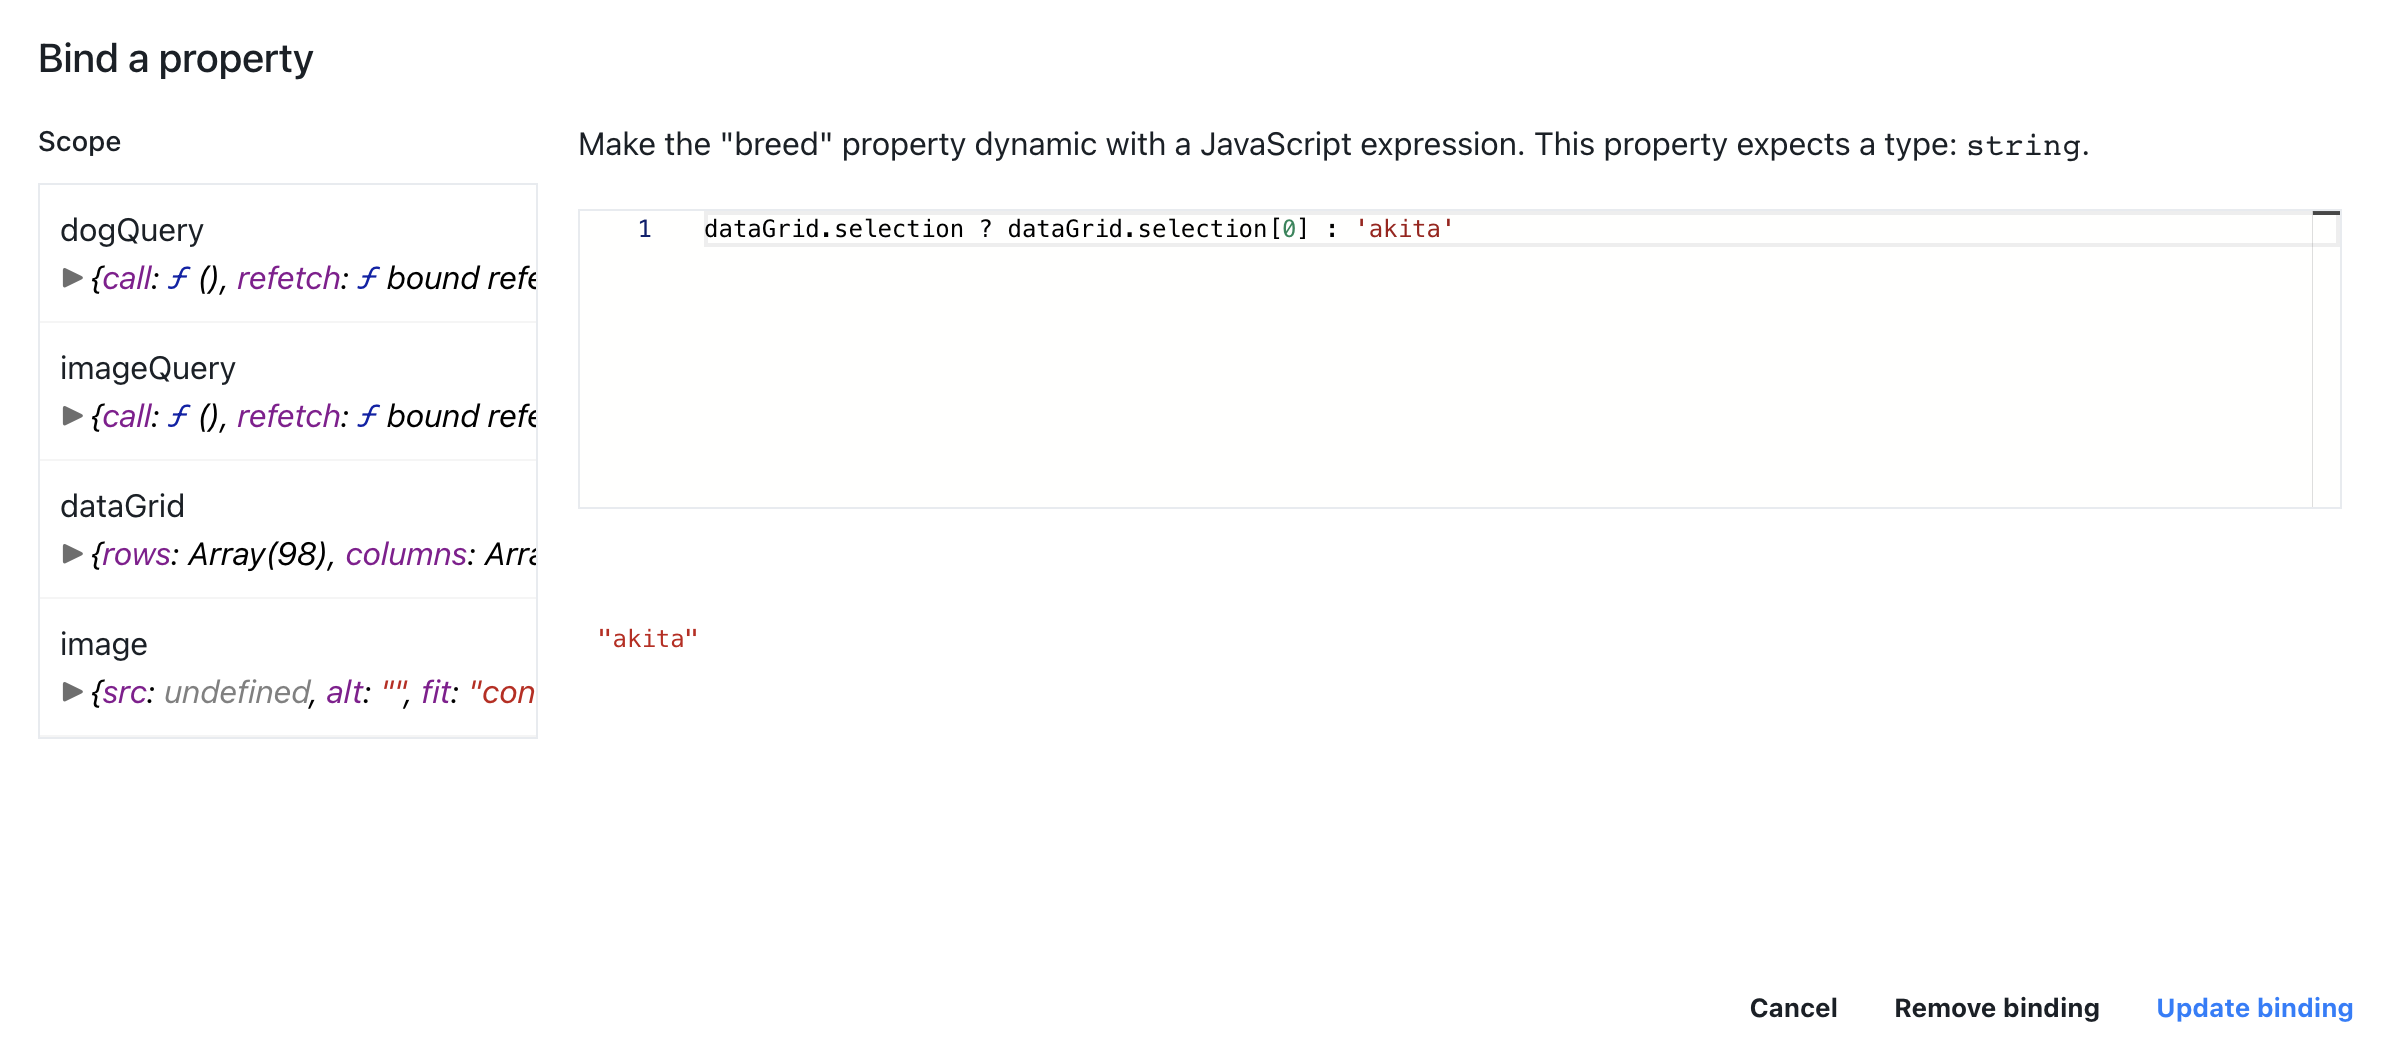
- Add new parameter named breed

- Bind breed parameter value to
dataGrid.selection ? dataGrid.selection[0] : 'akita'(grabs selected value fromdataGridor defaults to akita breed)
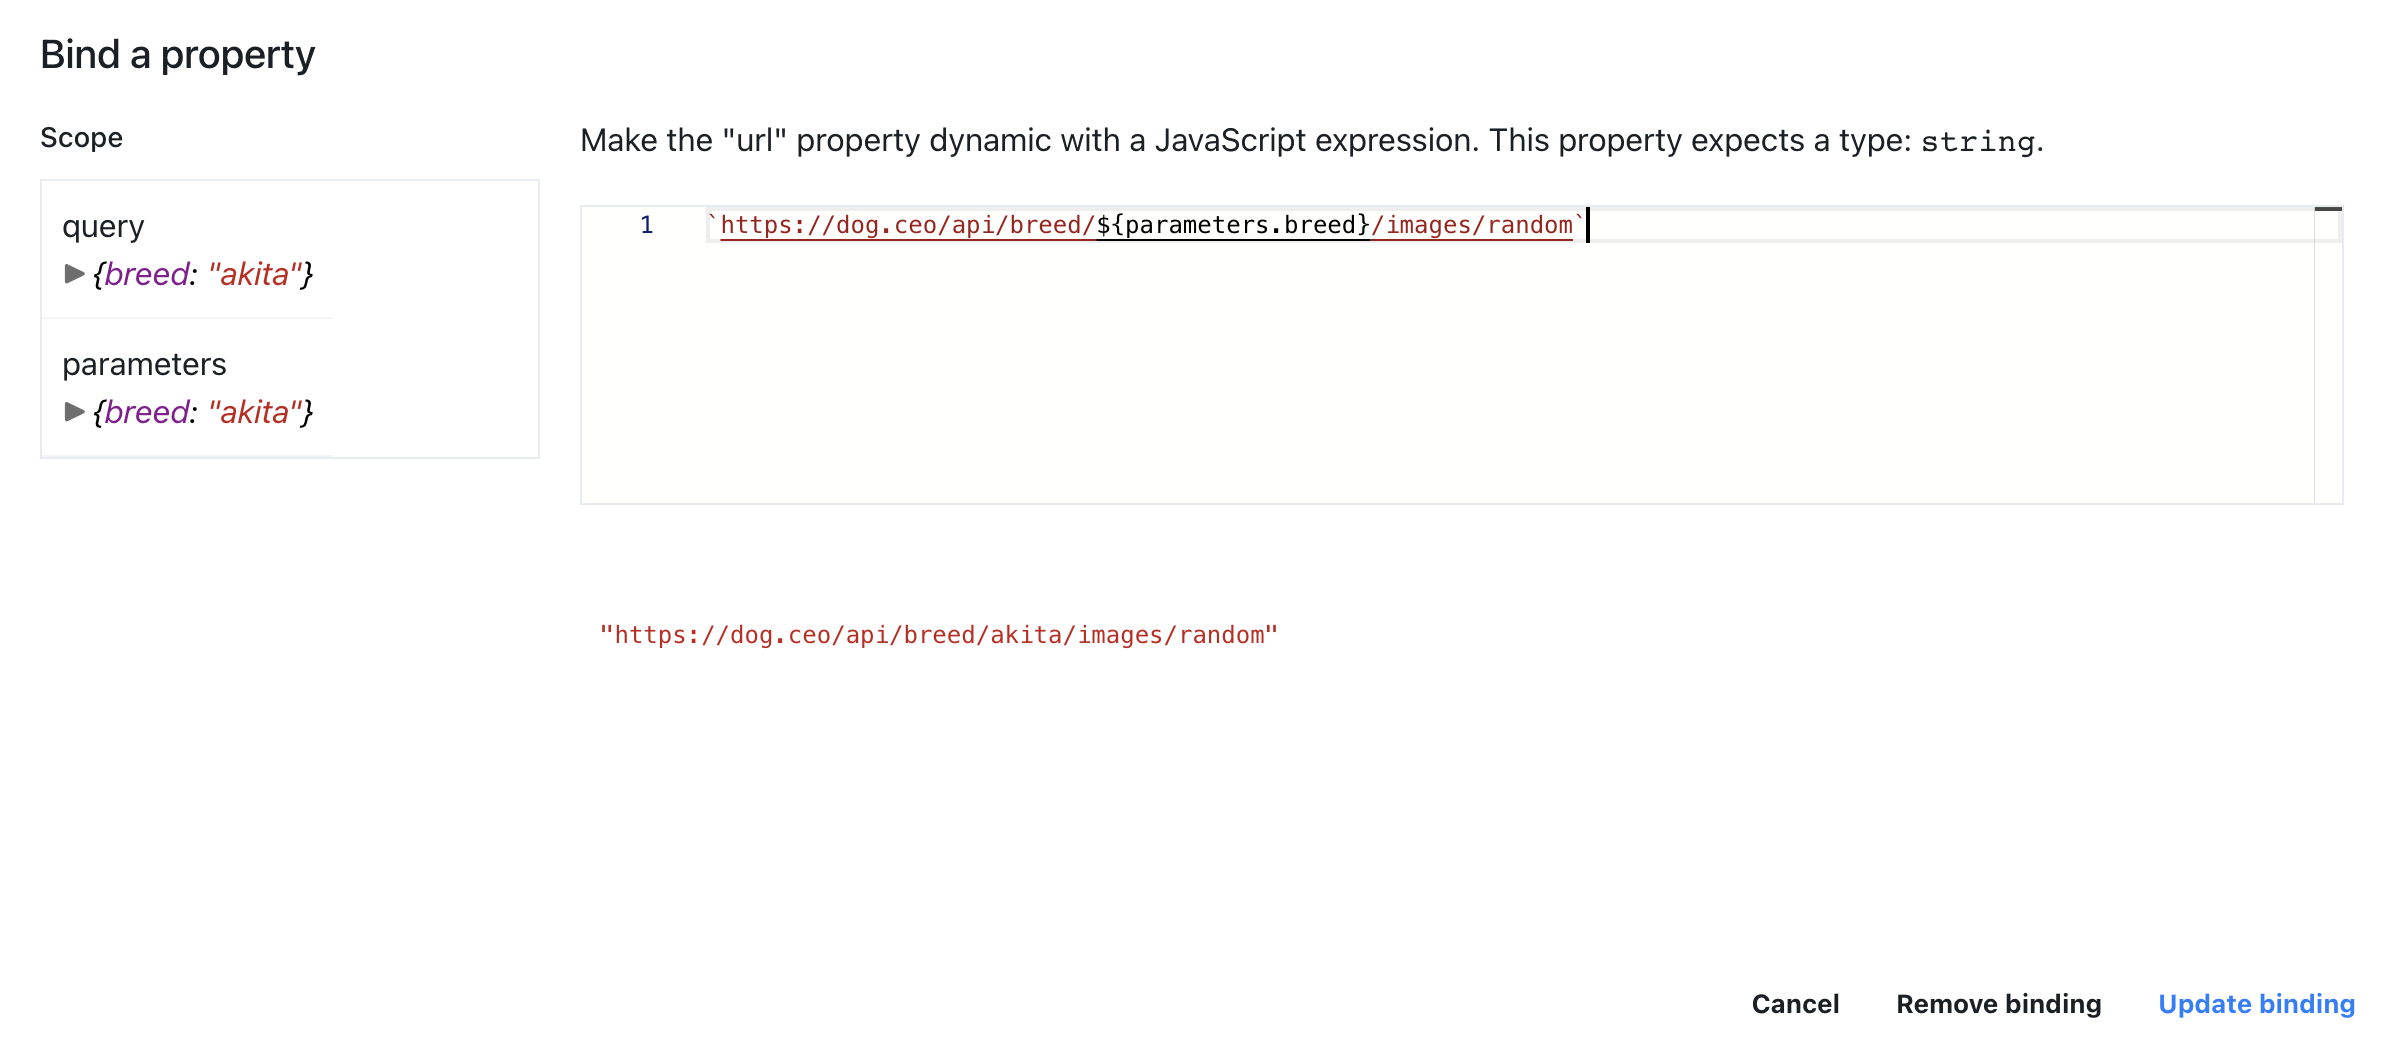
- Then bind query url property to
https://dog.ceo/api/breed/${parameters.breed}/images/random
- Last transform responese using
return data.message;and click SAVE
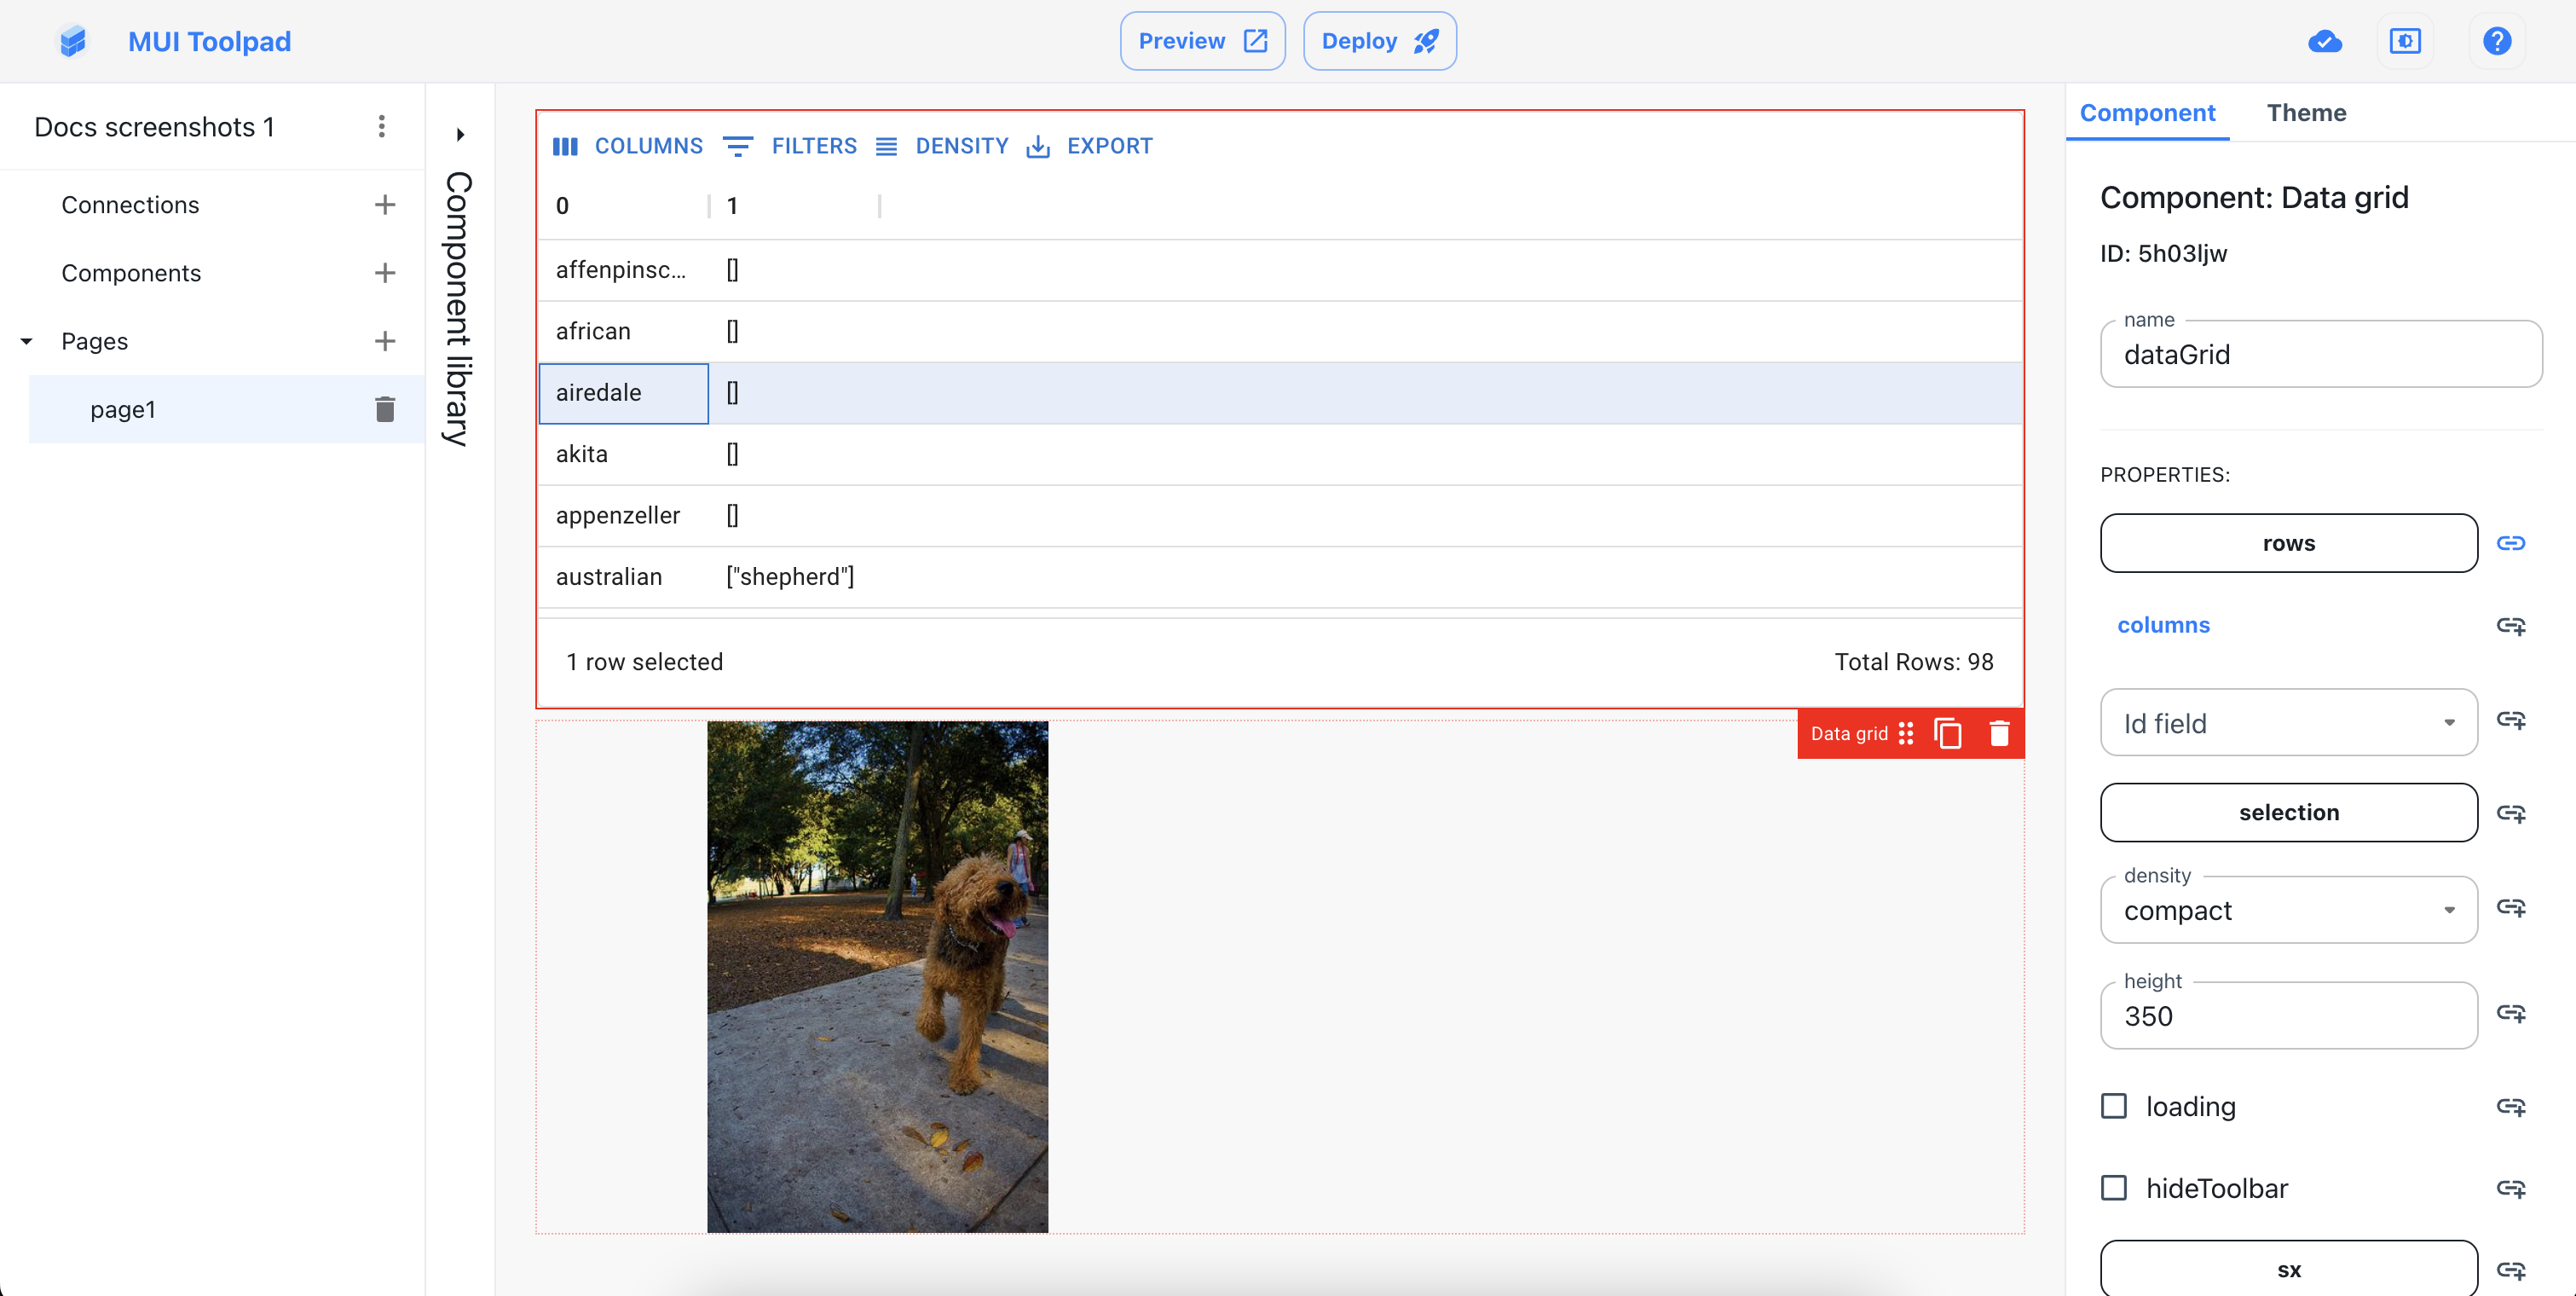
Next you want to display a picture of a selected breed using Image component
select Image component
bind src prop to
imageQuery.dataand now you can preview pictures of a selected breed
Congratulations! 🎉 You now have an app fetching data from remote source and reacting to the user input!
Deploying your application
In order to share your application with others you will want to deploy it
Click DEPLOY button in the top navigation:
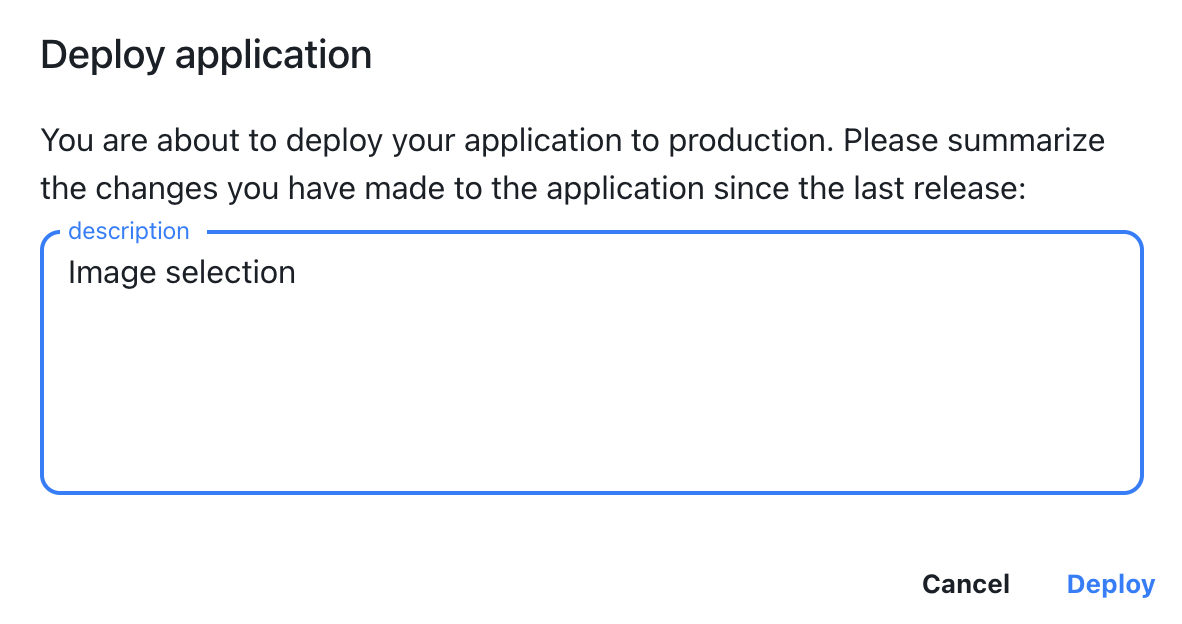
(Optional) Enter description of your choice
Click DEPLOY to confirm.
Once deployed, the app will automatically open in a new browser tab.